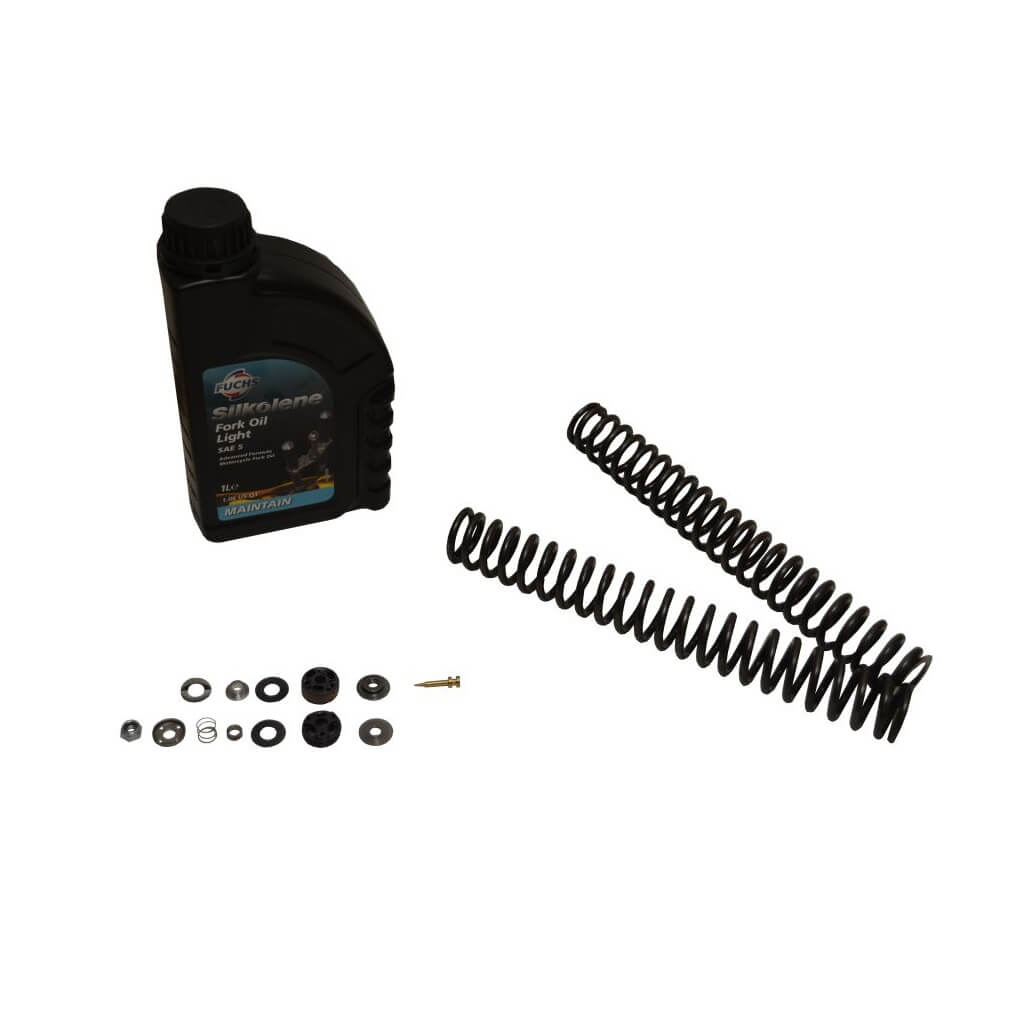
God smiled down on us today and gave us a sunny 45 degree day. It’s not often we get to ride without heated gear at this time of year, so off I went. I spent some time on a variety of roads today to better sort out the suspension. I’m happy to report that all but the most awful roads feel wonderful. And when I mean awful, I mean roads that require supermoto-like suspension travel/compliance. The forks come damn close to performing better than my fully adjustable Tiger 1050 forks. Suffice it to say that warmer weather and clearer roads are going to be a problem for tire life.;)
But the REAL reason I had the bike out was ECU tuning. As most of you remember from about a month and a half ago:
I know you guys have been drooling for some ECU updates and I’ve been dragging my feet. Well, finally sat down and decomposed my notes into something useful (I hope).
Ignition Timing
From the factory, there are two ignition maps per drive mode. One map covers gears 1-2 and another covers gears 3-6. Although there are different maps for each drive mode, the ignition values are presently the same between across the drive modes. In other words, ignition timing is constant from mode to mode; it only varies by gear.
In gears 1-2 the factory map pulls timing between 1-2 degrees in a few places. Generally though, the bulk of timing retard is <15% throttle. Yamaha focused the timing retard in the 800-1400 RPM range and 3000-5500 range. There are a few other sporadic areas, but these are the concentrations. Yamaha employs similar tactics on many of their bikes, so this isn’t surprising. Given the affected regions, it appears they were trying to soften the initial throttle tip-in (despite what many riders have commented on).
For the purpose of this first exercise, the timing in the higher gears was used for gears 1 and 2 in an effort to increase throttle response in A mode only (STD and B timing modes were unaltered). The only exception were a few areas at about third throttle in the higher rev range that were smoothed out. The factory maps had some spiky inconsistencies (current thought is possibly for emissions).
Fueling
Typical FI layout on the fueling – fueling varies by cylinder and separate maps for TPS vs RPM, MAP vs RPM, Delta TPS vs RPM (by gear). Fueling maps are not customizable per ride mode. No changes were made to fueling at this time since we’re still running the stock exhaust and the A/F on the dyno was pretty flat. There are no obvious lean spots on this particular bike, so no effort was focused on fueling, yet. For those doing custom mapping on engine/exhaust work, this is the real deal. You’ll have full adjustment in more ways than you can shake a stick at.
Throttle Maps
It’s a pretty simple concept, but this is an area that I really enjoy. YCCT requires a throttle map to effectively communicate your wrist’s actions to the throttle butterflies. Yamaha has separate throttle maps for each ride mode, but they also have separate maps by gear. This is, in effect, how the bike’s speed limiter works. In fifth gear (STD and A), the ECU won’t allow full throttle over 10k RPM; in sixth gear, it’s 8500 RPM. These restrictions have been removed, so if you have the balls and real estate, you can try and best 132 mph. B mode does something similar, but it never allows full throttle. Full wrist rotation delivers 70% throttle. Naturally, less throttle = less power (10 hp per dyno)
As we’ve all surmised by riding these bikes, STD mode is essentially a linear throttle (50% throttle turn opens butterflies 50% – though still ramps up progressively), B mode is a slow turn throttle (50% turn opens butterflies 1/3), and A is a quick turn throttle (50% turn opens 61%). A delivers nearly full throttle at around 85% throttle.
The throttle maps for STD and B were left alone, but A was converted to a purely linear map (1:1). This has an interesting effect in the sense that the factory map (all modes) has a slower take up at small throttle openings and then ramps up very suddenly to the quick turn throttle. Basically, you get a little less opening than you command, but as speed builds, that relationship inverts and you quickly get more than you bargain for. So the new map comes on a little stronger under ¼ throttle and then goes completely linear through WOT. If you found A mode a little jumpy, this is a major contributer.
Other cool modifications
Eliminate fuel cut on decal (reduces engine braking) and default to a specified ride mode (as opposed to STD).
“Yeah, yeah, yeah, you’ve been yammering along long enough…how does the bike FEEL?”
In short – SWEET! I’ve been riding around on the new map for about a week trying to document the changes and summarize my thoughts. But immediately after pulling out, the reduced engine braking was instantly recognizable (and appreciated). This feature certainly won’t replace a slipper clutch, but it does a decent job of emulating it. Case in point, I’ve ‘accidentally’ downshifted effortlessly into first gear. The smooth transmission certainly helps, but quickly blipped downshifts are second nature. The difference is night and day. This certainly helps smooth out the on-off-on throttle transitions through the twisties.
The combination of eliminating the timing retard and advancing the throttle in the <25% range (literally, just a couple percent, nothing huge) really livens up the bottom end. This bike is a MONSTER (not like it wasn’t before). If you’re into wheelies, be prepared. But most importantly, smoothing out the timing inconsistencies and linearizing the throttle really make this engine smooth and easy to modulate. “Buttery smooth”, “Electric”, “Telepathic”…pick your cliché. This engine really allows you to outride the stock suspension…
So looking forward, there are a couple areas I’d like to refine before taking this mainstream. First, I’d like to soften the initial throttle response (in A). Contemplating pulling timing in low throttle (<6%) and/or reverting to the old <25% throttle map (leaving the new linear map >25%). This should please just about anyone who didn’t like the ‘urgent’ power delivery in A mode.
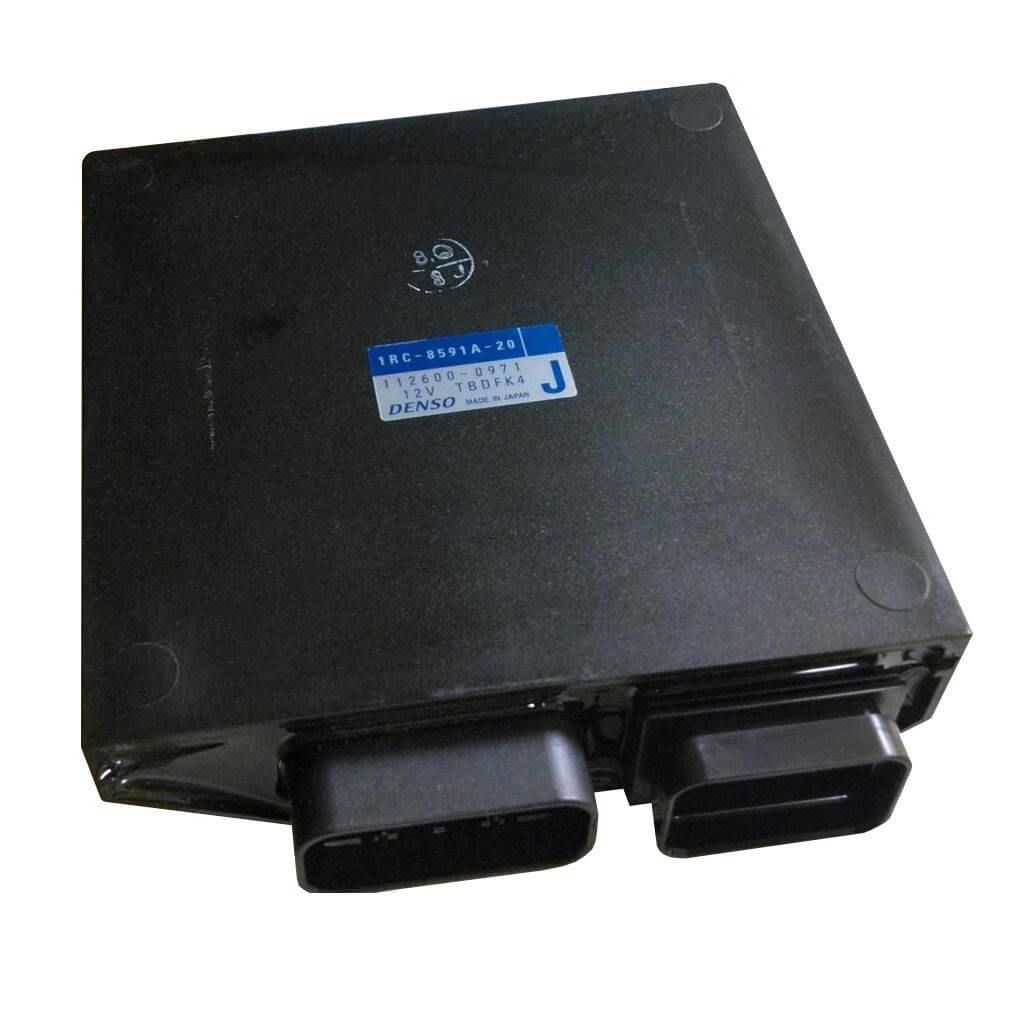
The pins are still the pacing item in getting this project moving along. Because the ECU is completely new, the required pins aren’t readily available, yet. So, although I’d love to be able to tweak some things on the fly, that just isn’t in the cards at this time. I’m planning to send the ECU back in a week or so once I make some more progress on the shock development.
All in all, I’m very excited by the results and am looking forward to tinkering. I’m envisioning a true quick turn map (ditch B – who needs it?), a good all-around A map, and maybe something silly like a launch control map. Who knows?
Closing comments: the smoother power delivery and better control really meld nicely with the fork upgrades and the new rear shock. The bike is more composed in every single way. No more bucking and seesawing as you whack the throttle, bury it into a turn, and rinse/repeat. As fun as that was, this is better. Much better. As usual, stay tuned for developments.
It might not be pretty (or fast), but at least it flashes:

The base flash that Chris at Flash-Tune did was already a monster (almost too much), so my goals with this latest reflash were simple:
1. Soften the initial tip-in in both A and STD maps.
2. Smooth out timing map in STD map.
3. Remove speed limiter in STD map.
4. Turn A mode into a true quick turn throttle map.
B mode was left completely in-tact. The factory’s initial tip-in was already very progressive and unintimidating, so there was no need to soften it further. Plus, the ~10 hp reduction is likely welcome by someone under the right conditions.
So onto STD mode. The sub-25% throttle map was softened to be more progressive in an attempt to reduce the open-closed-open snatch. 25%+ throttle opening was linearized to provide a more predictable response. Also, full throttle is now possible under 3500 RPM. The 2 degree timing retard was left for first gear, but altered to 1 degree for gears 2 through 6. A few areas of the timing map were smoothed out.
A mode was softened up a bit below 10% throttle (from Flash Tune baseline). It’s closer to what the factory’s STD mode was than a full linear map as we previously had. Above 10% throttle transitions to a linear throttle through approximately 25%. Above 25% ramps linearly into a quick turn throttle that peaks with 100% throttle at 80% throttle tube rotation (so 20% quicker than stock). The factory A map was less ‘quick’, but more progressive. Translation? Harder to modulate than this linear relationship. 1 degree of timing retard was added back into first gear to tame the off-idle response. Gears 2+ remove the timing retard.
The riding impressions were immediately apparent. ‘B’eginner mode feels the same, because it is. Switching to STD mode on the fly was a real kick in the ass compared to B. The softer throttle tip-in allows for smoother throttle applications and the linear throttle relationship at larger throttle settings is very natural. Want more juice? Keep twisting at the same rate (no surprises). Want less? Roll off, and you’re greeted with smooth deceleration. I guess the only way to sum STD up is ‘like stock, but smoother’.
Switching to ‘A’dvanced mode is an equally big kick in the ass (compared to STD). While I never personally felt the bike was overly snatchy, this new map is definitely a bit more user-friendly. Until you ask for more than ~1/4 throttle. At that point, hold on..the front end lifts with ease in third gear. I fell in love with A mode when I first picked the bike up, but the progressive quick turn throttle was definitely a bit like chasing your tail. A 10% greater twist may deliver 12% more throttle at some engine speeds…or more/less at other speeds. It was a blast, but there is always room for improvement. Personally, linearizing the quick turn throttle, is an improvement. Not only is WOT achieved earlier than before, but the throttle twist to rear wheel twist ratio is very natural and predictable. Calling the acceleration urgent is an understatement, but it’s never surprising.
I ended up switching between A and STD a lot. While many will fall in love with A’s hooligan nature (guilty as charged!), STD mode is so smooth and predictable, it’s sublime. I can make a case for leaving the bike in A mode during 90% of riding…until you hit some seriously tight mountain/canyon/track riding where the extra resolution of STD is beneficial to fine-tune your line. Pretty neat stuff. So neat, the last tank barely crested 90 miles till running on fumes, lol. Love it.
Being the particular SOB I am, I’m planning to tweak the 10%-25% throttle region of A some more. As good as it is, I’d like to start ramping into the quick turn portion of the map sooner. This should provide better granularity with a shallower slope. Stay tuned!


 ). This bike has some of the smoothest fueling that I’ve ever experienced. Personally, I’d be good with riding this as-is, for a very long time. Yesterday was a good day to ring in the new year and the bike’s 1,001th mile!

